【SWELL】広告タグの使い方【レイアウトのカスタマイズも紹介】

SWELLの購入やWordPressへのインストールがまだの方は以下の記事を参考に導入できます。
あわせて読みたい
SWELLの購入とインストール方法を解説
SWELLの購入とインストール方法を知りたいですか?本記事では、会員登録やDiscordコミュニティへの参加方法、SWELLを使うために必須な認証方法、未使用テーマを削除する理由まで解説しています。SWELLを使いたい方は是非ご覧ください。
こちらの記事で完了すること
- 購入
- 会員登録
- Discordコミュニティ登録
- WordPressへのインストール(親テーマと子テーマ)
- ユーザー認証
- 使わないテーマの削除
では、本題に入ります。
SWELLブロックの広告タグの使い方について教えてほしいです。
こういった悩みにお答えします。
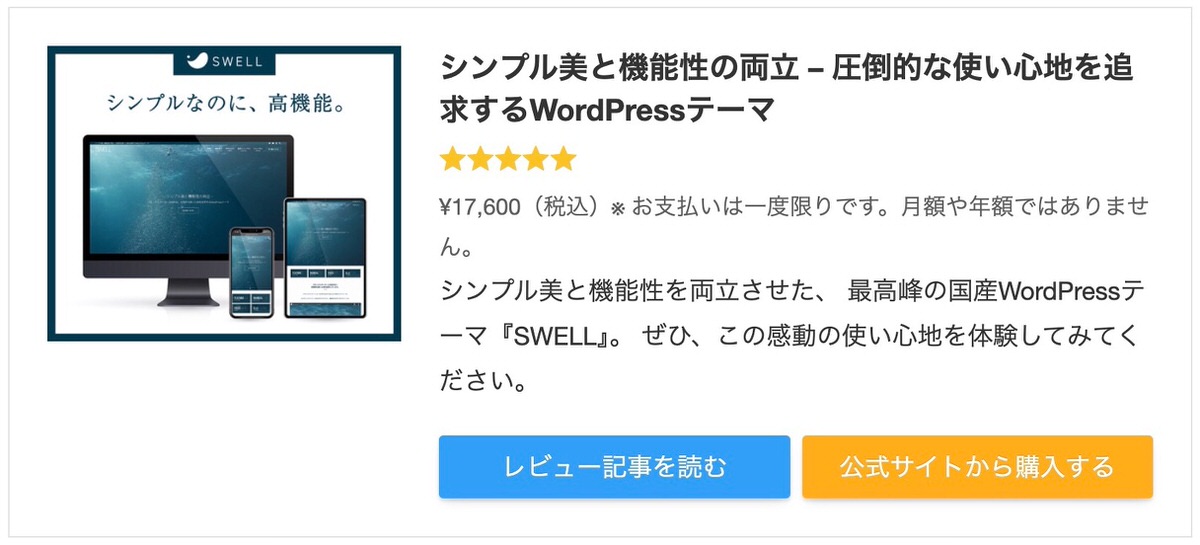
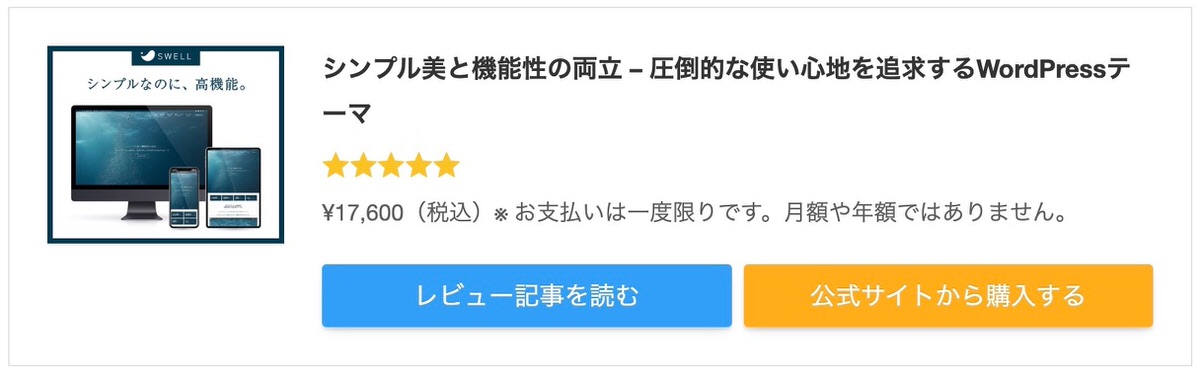
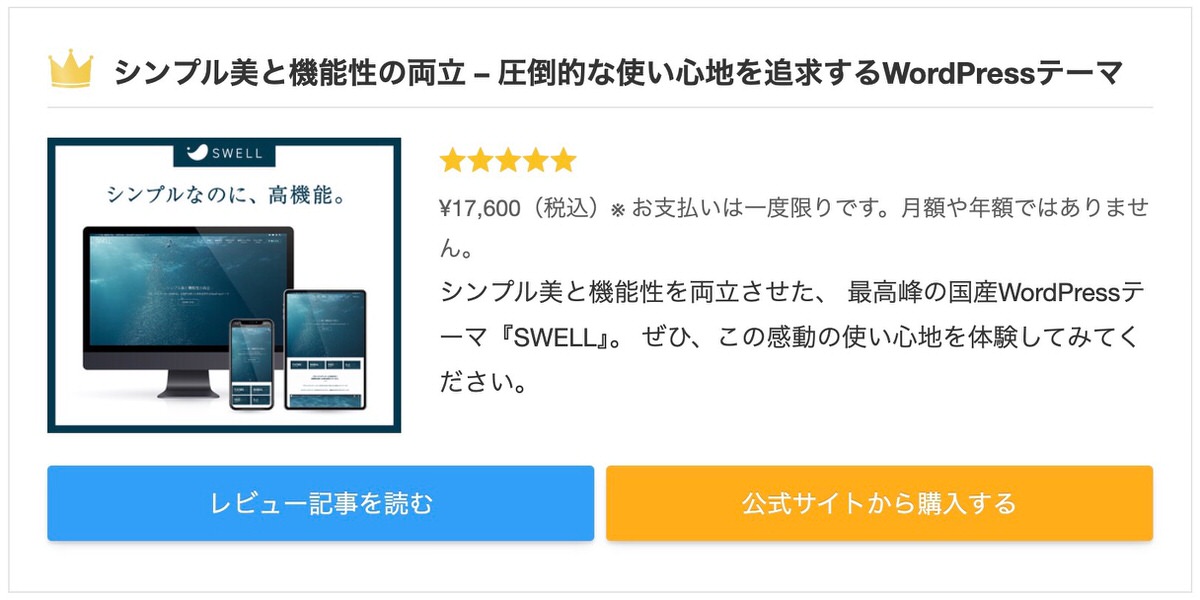
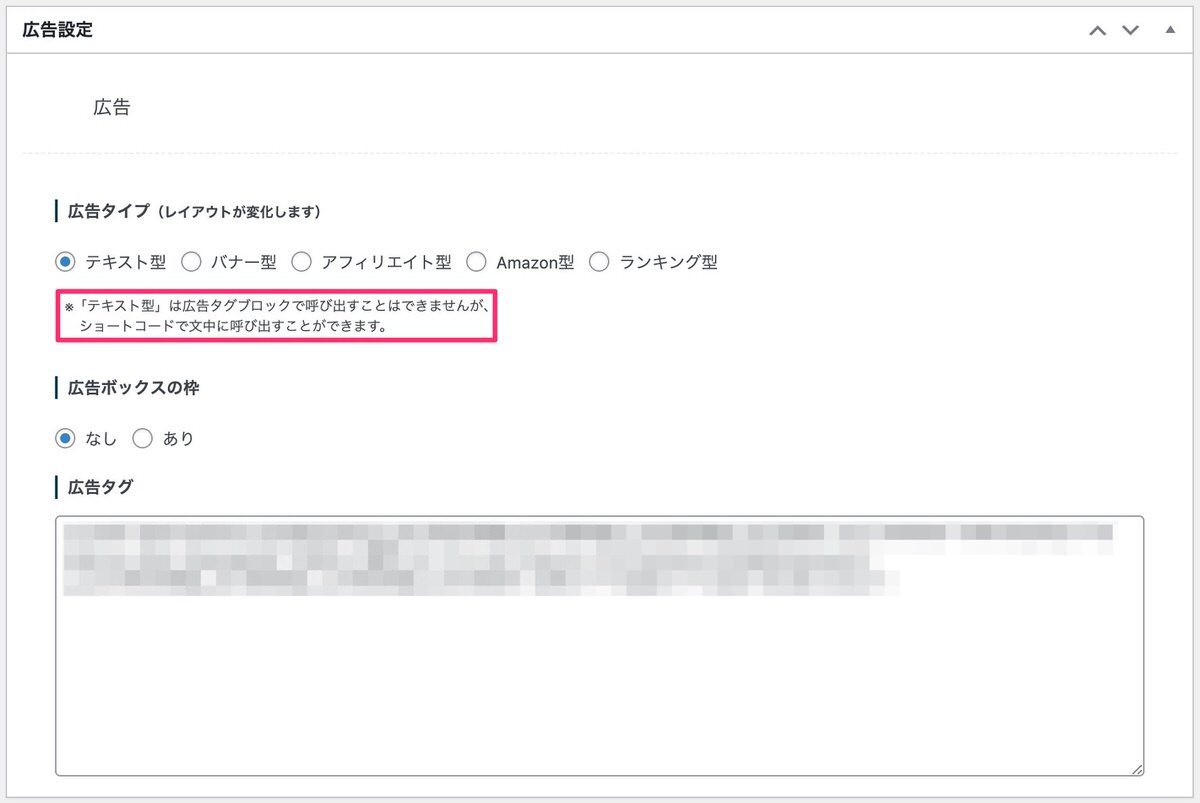
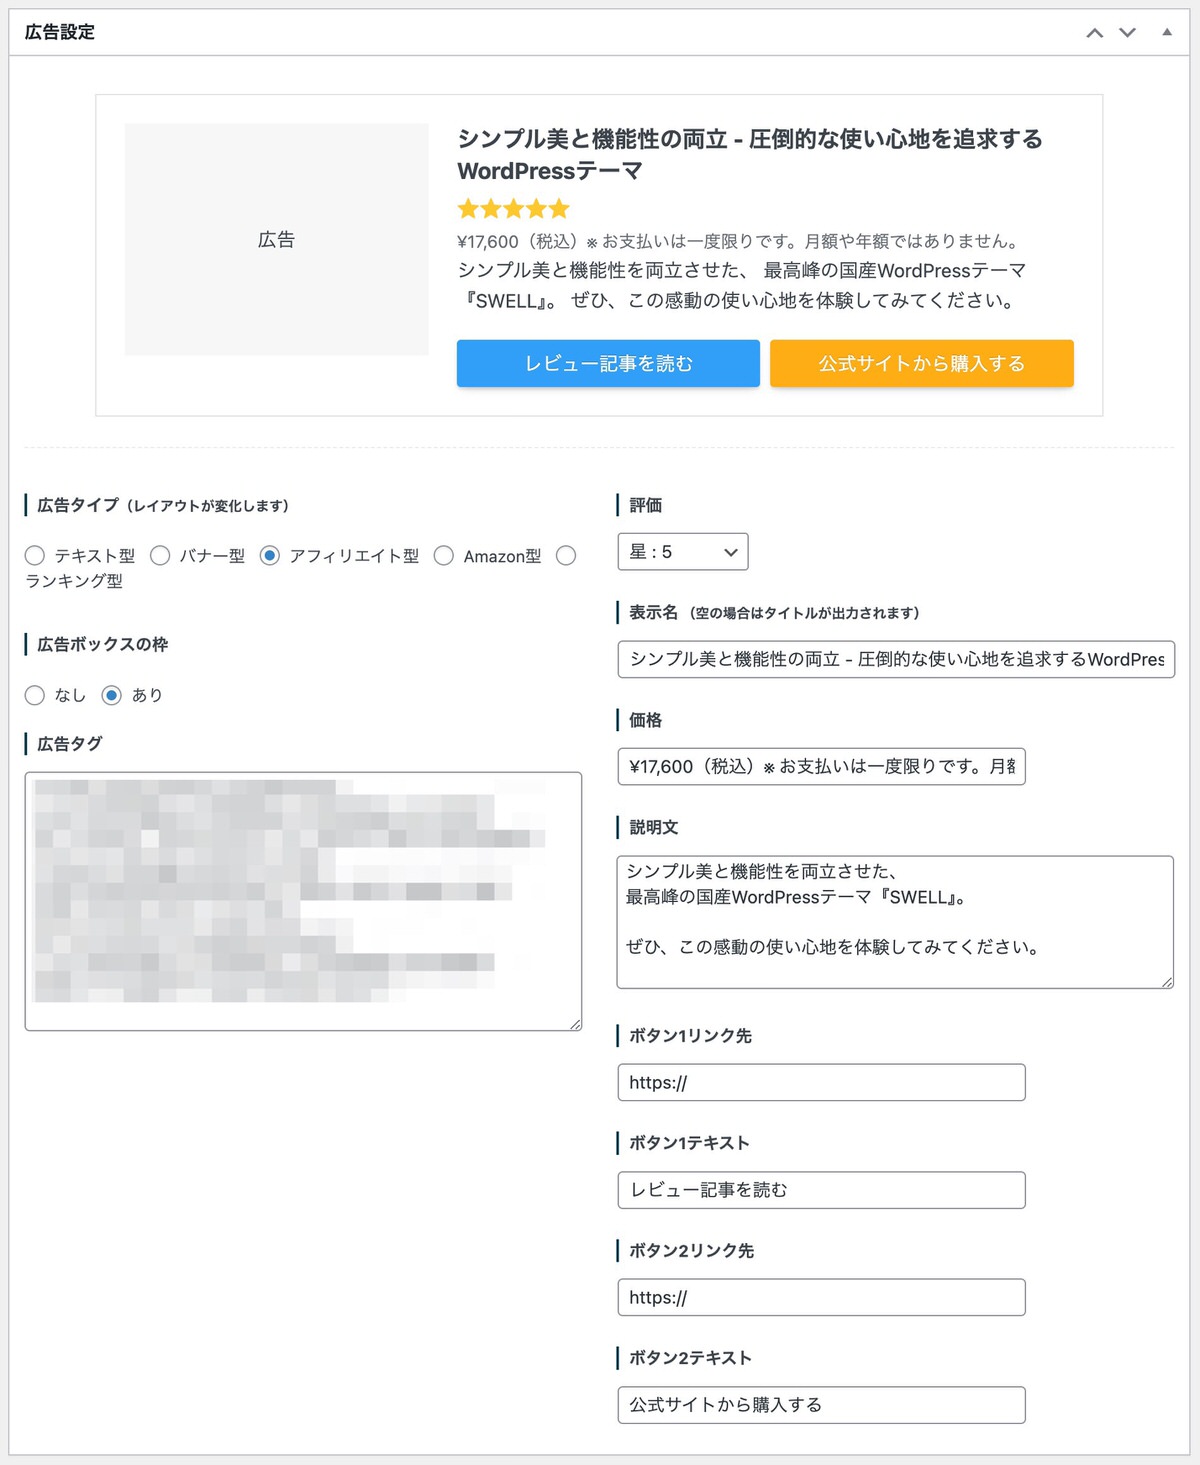
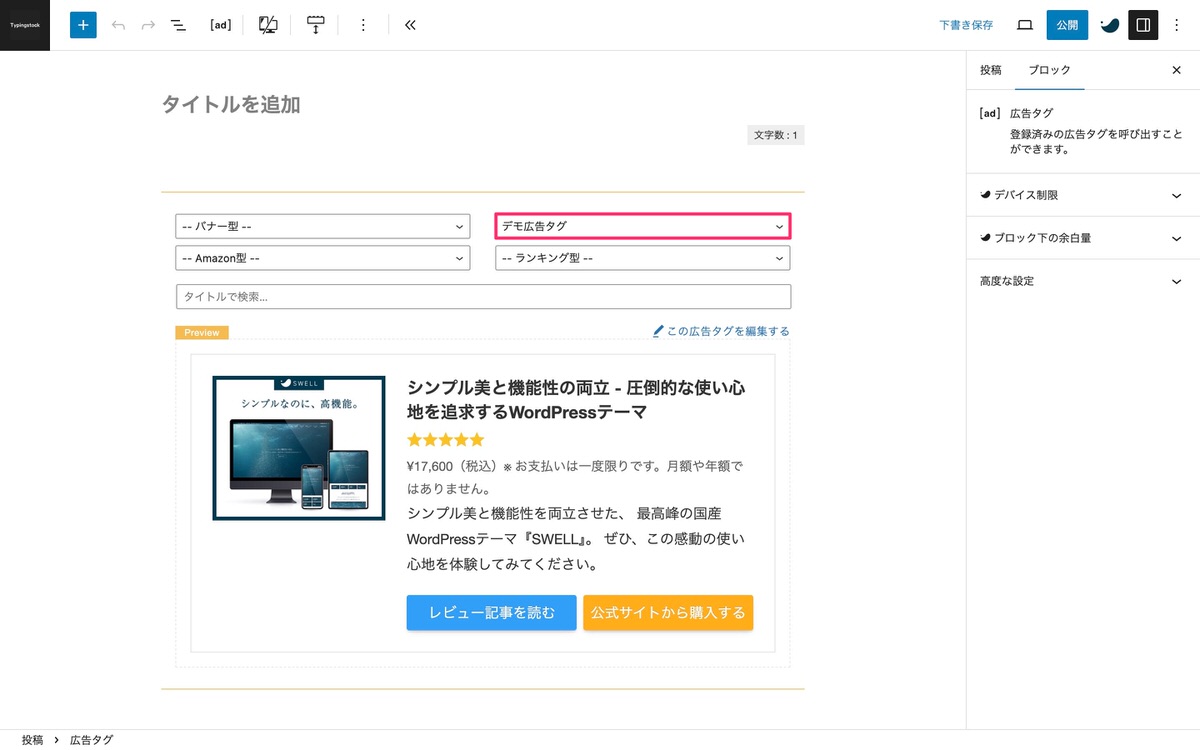
- 全広告タイプの表示例が見れる
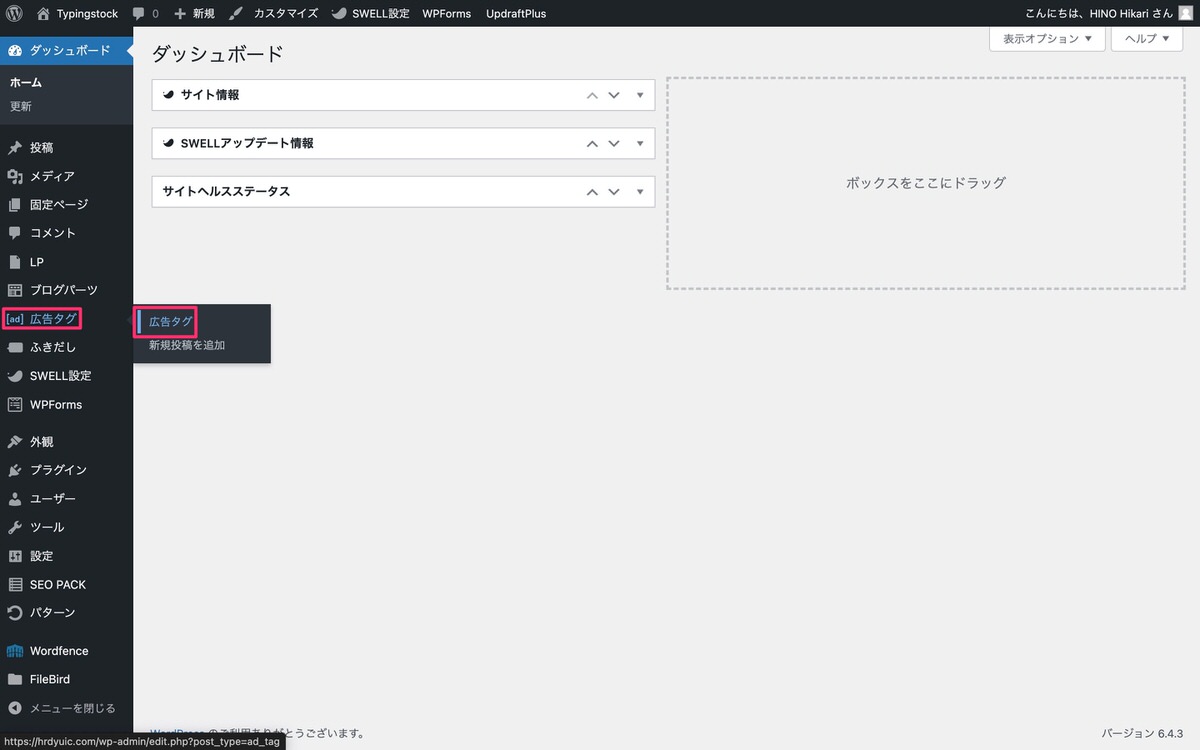
- 広告タグの追加から記事内に設置するまでの流れ
- ボタンにアフィリエイトリンクを挿入する方法
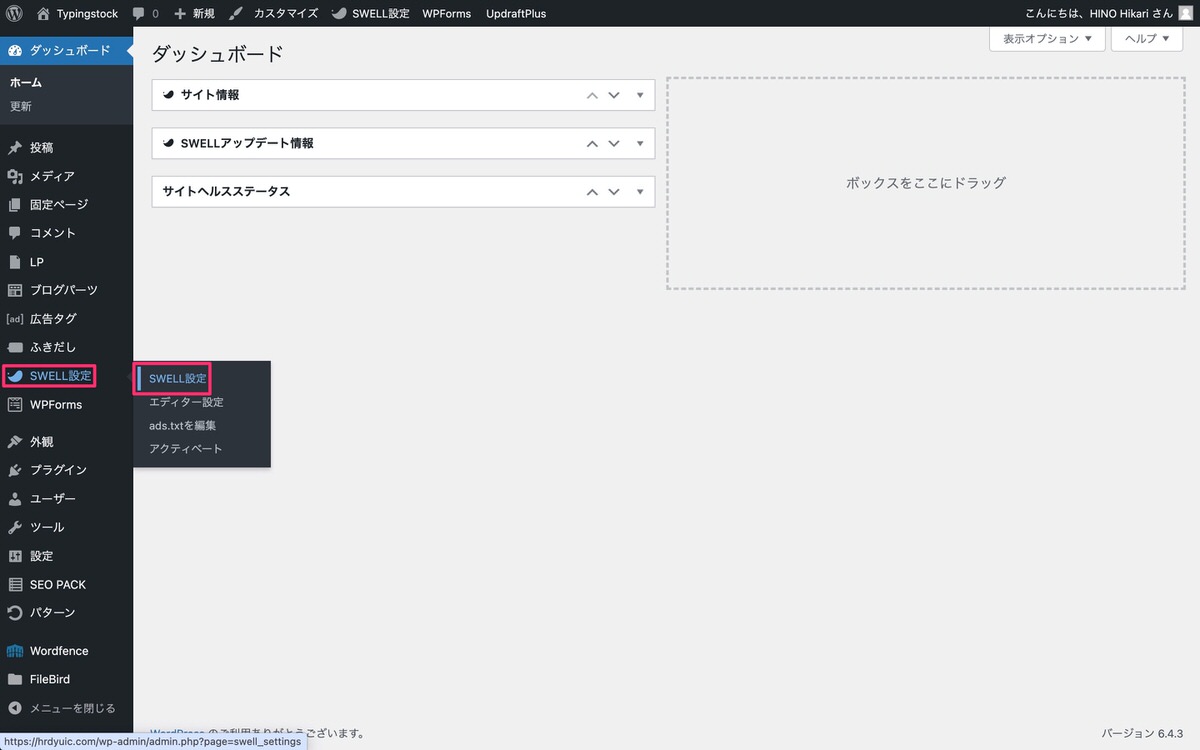
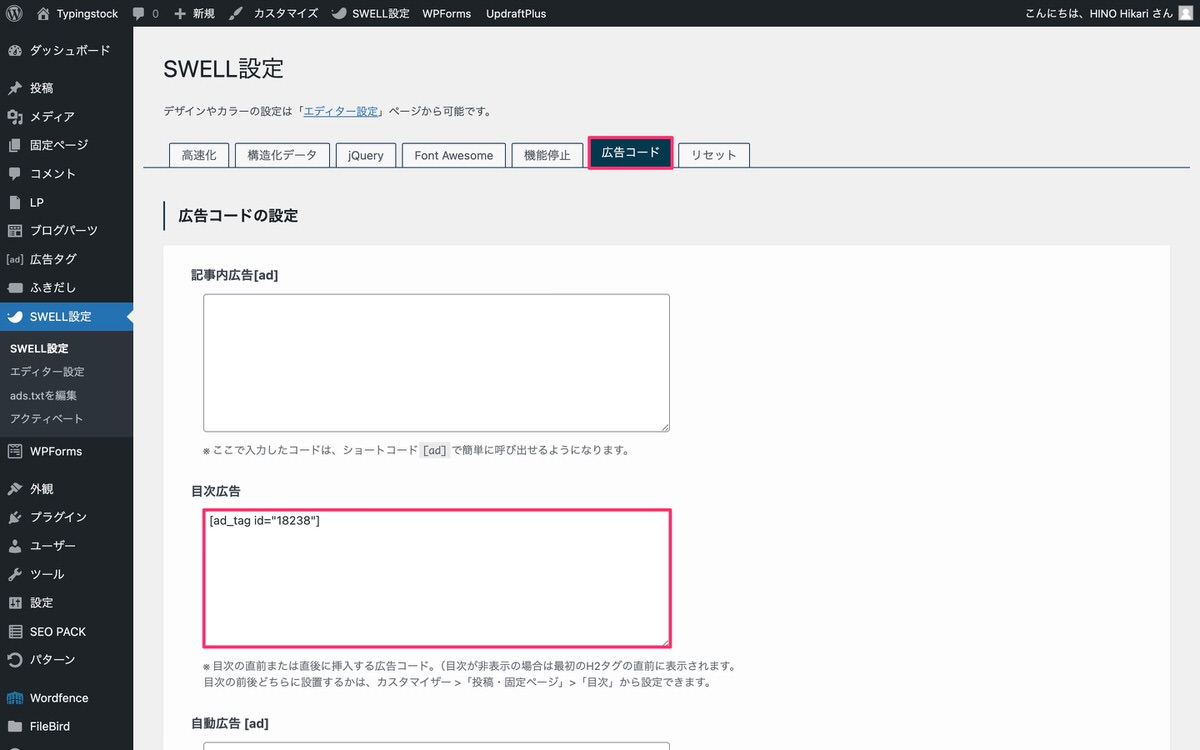
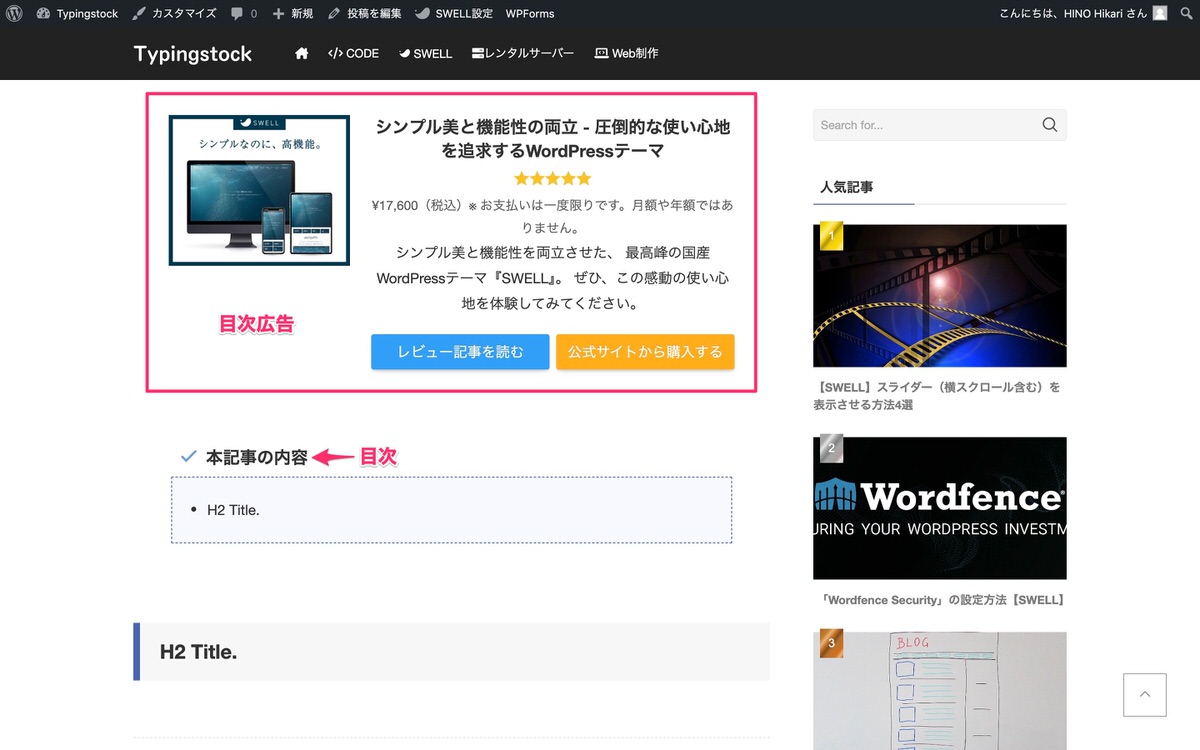
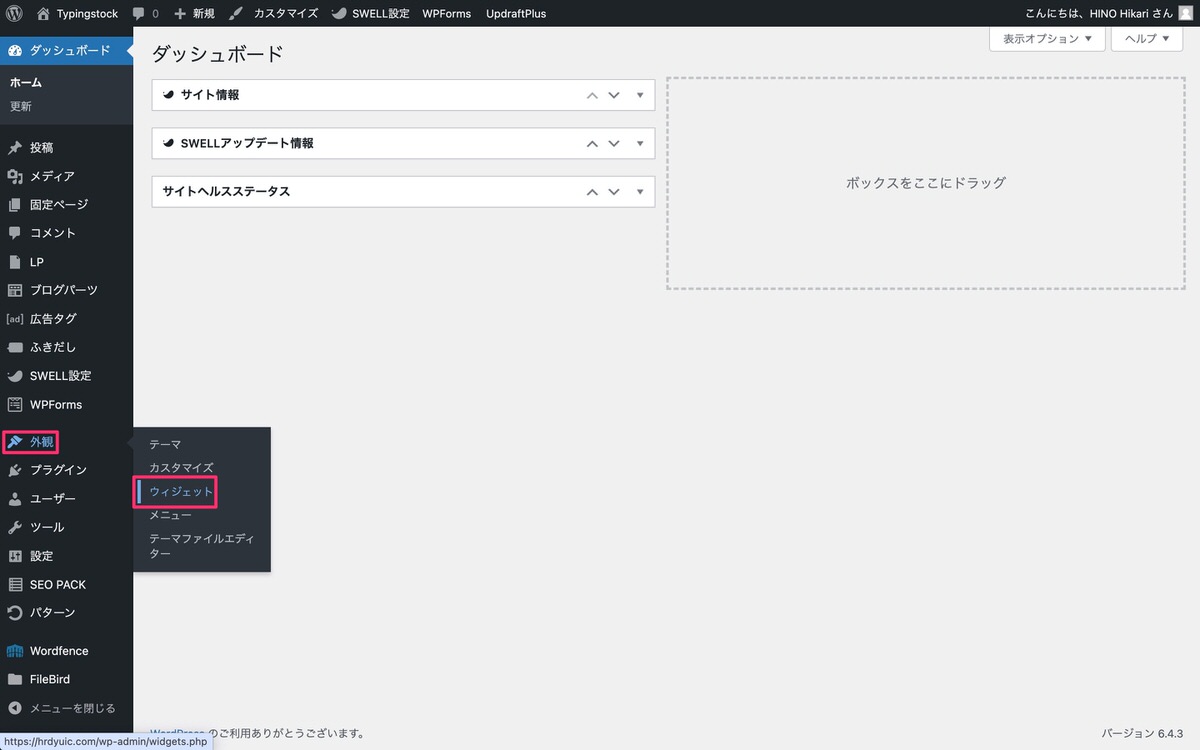
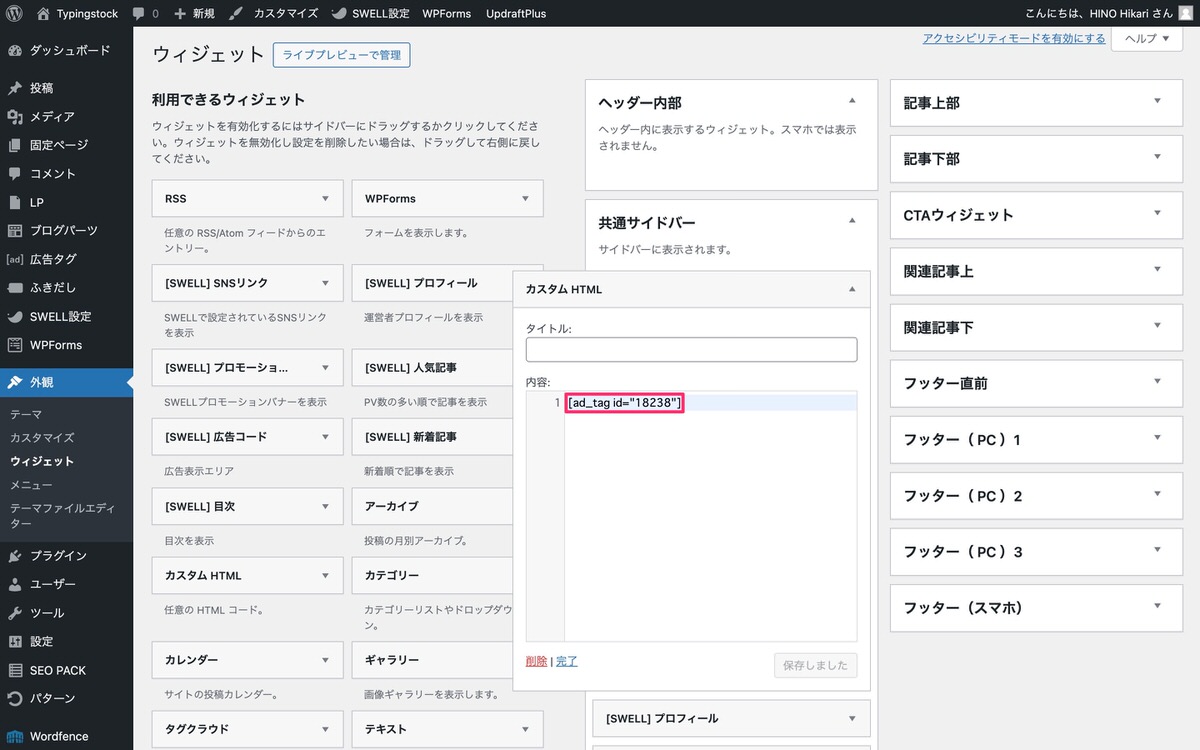
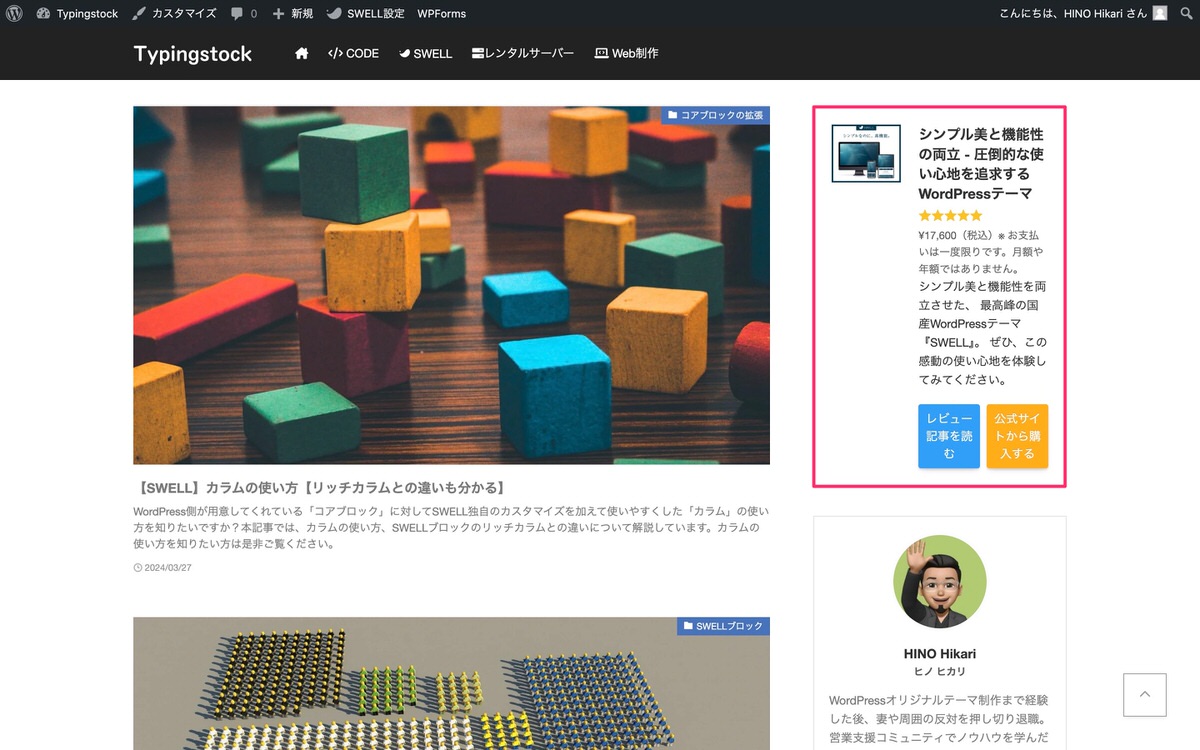
- 広告を目次上部やウィジェットに設置する方法
是非、最後までご覧ください。
目次
【SWELL】広告タグの使い方
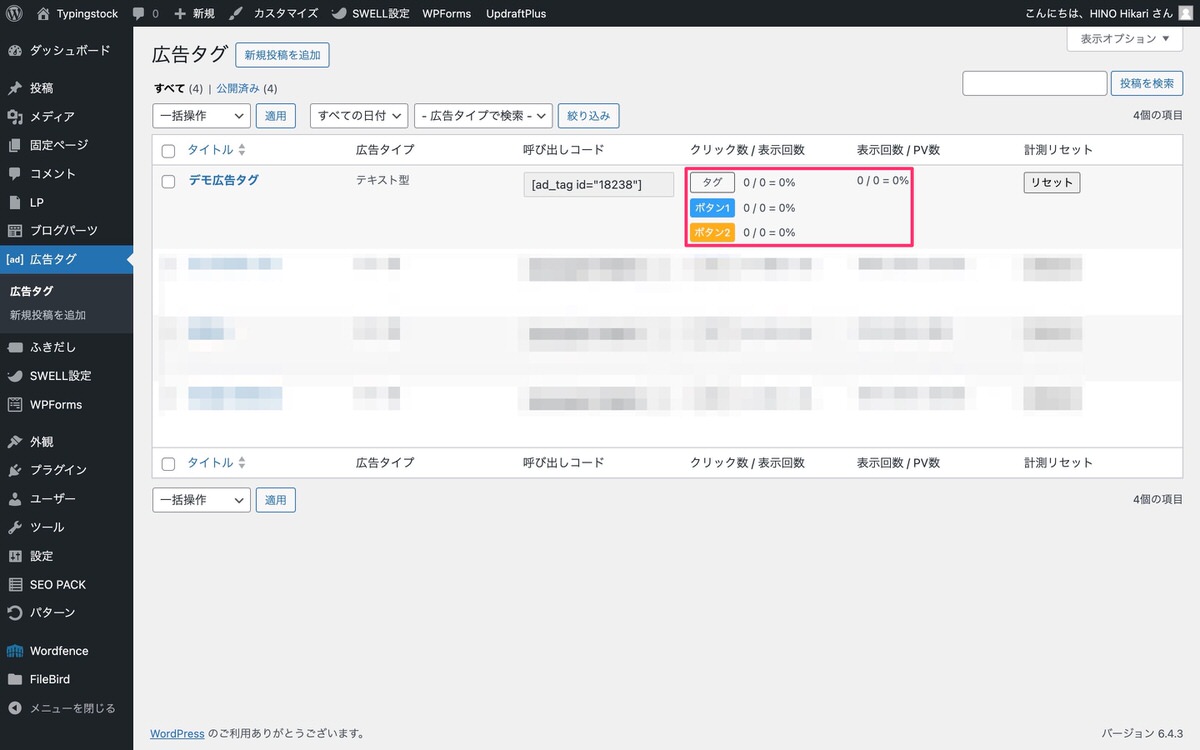
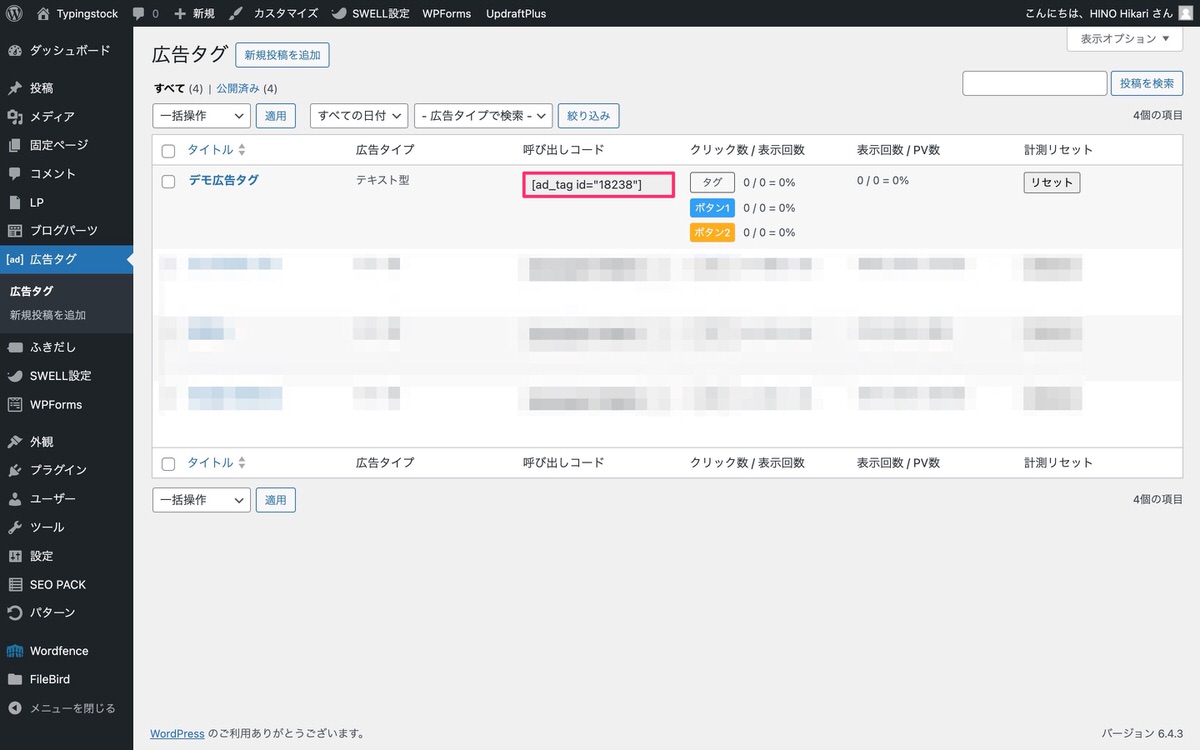
クリック率や表示率が計測できる
クリック率が分かることで、分析と改善が行えます。
- クリック数 / 表示回数 = クリック率
- 表示回数 / PV数 = 表示率
※「計測結果をリセットする」こともできます。

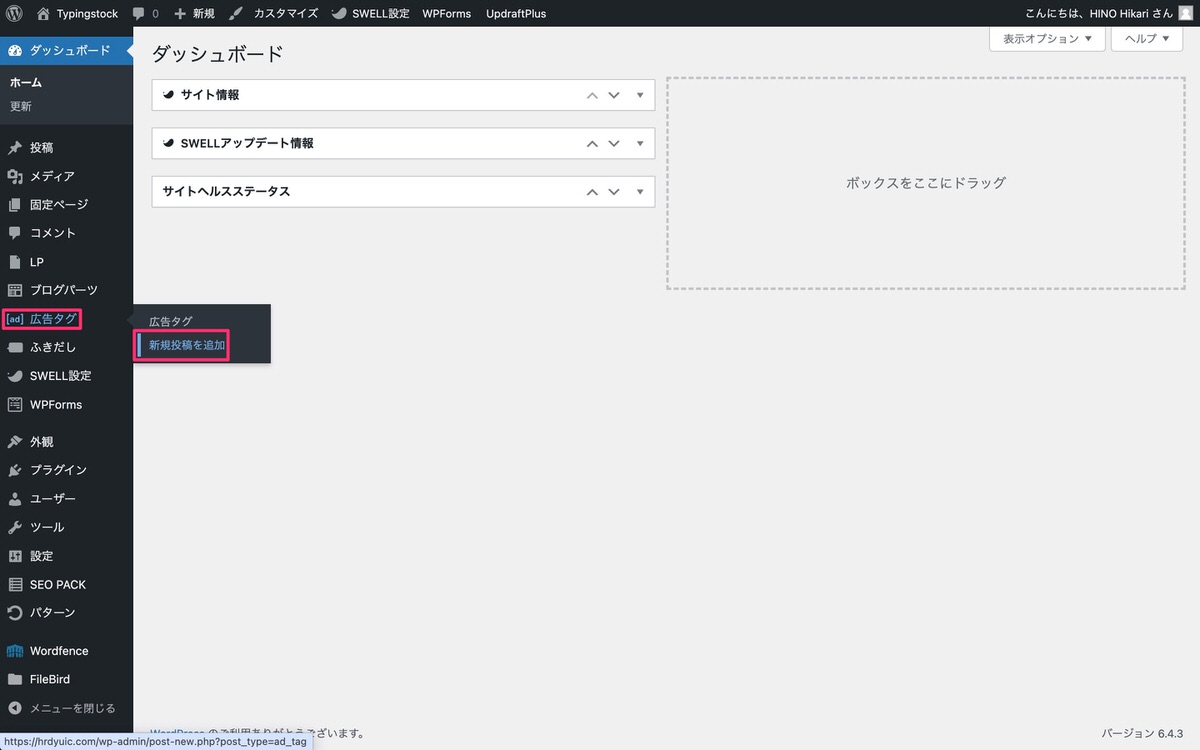
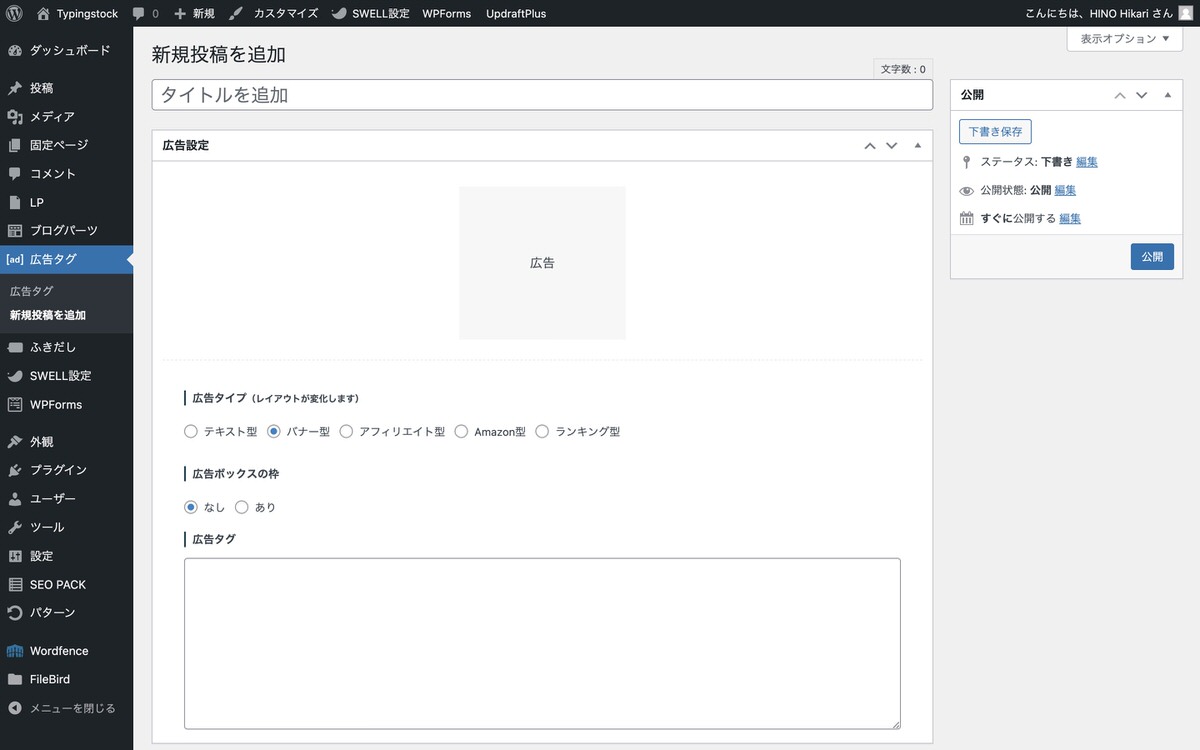
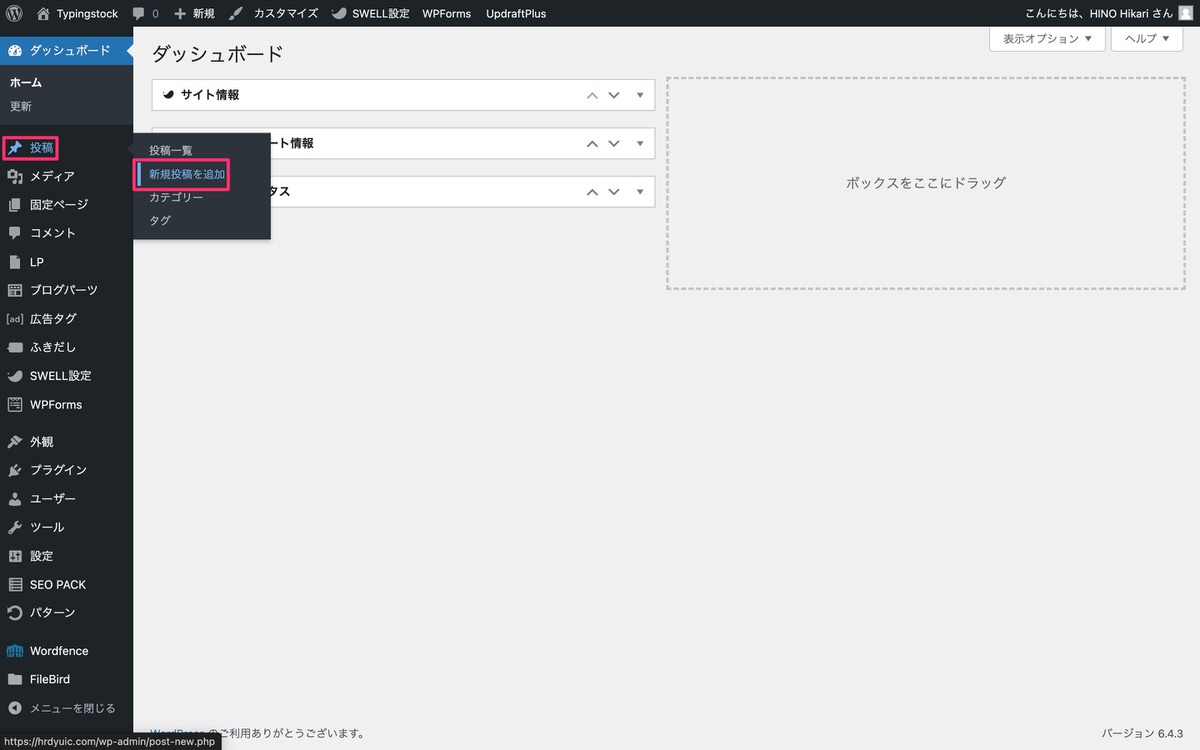
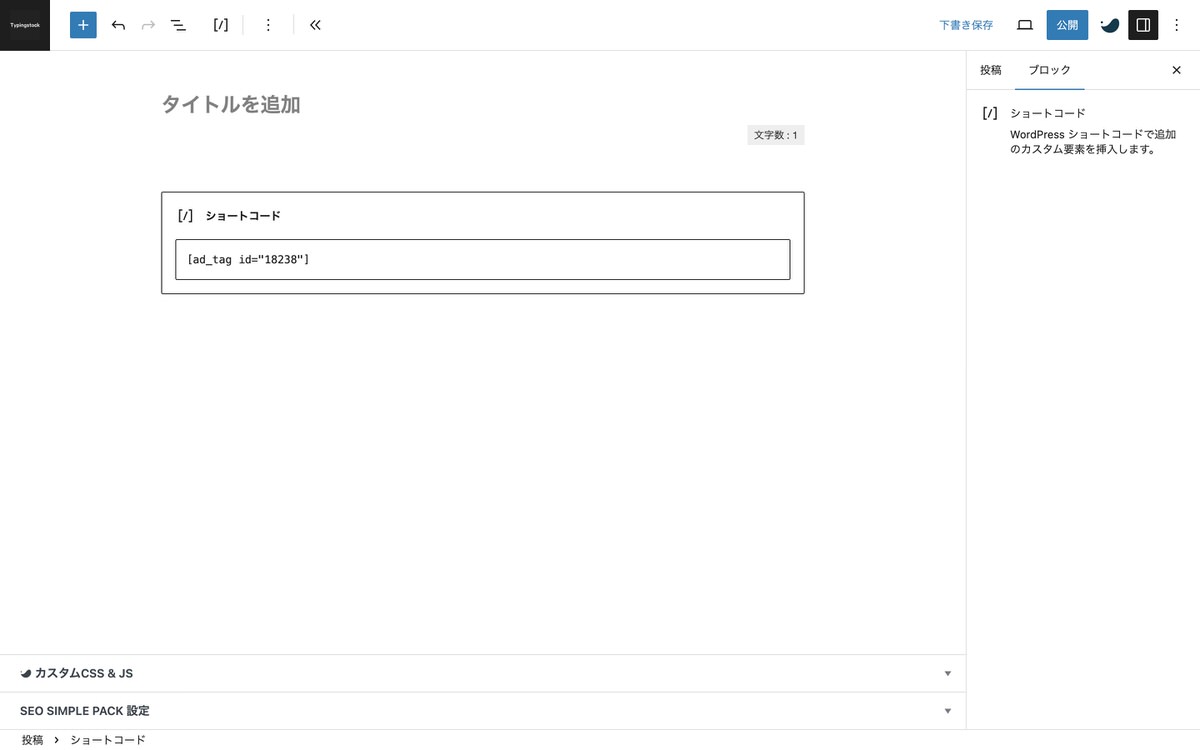
広告タグの追加から記事内に設置するまでの流れ
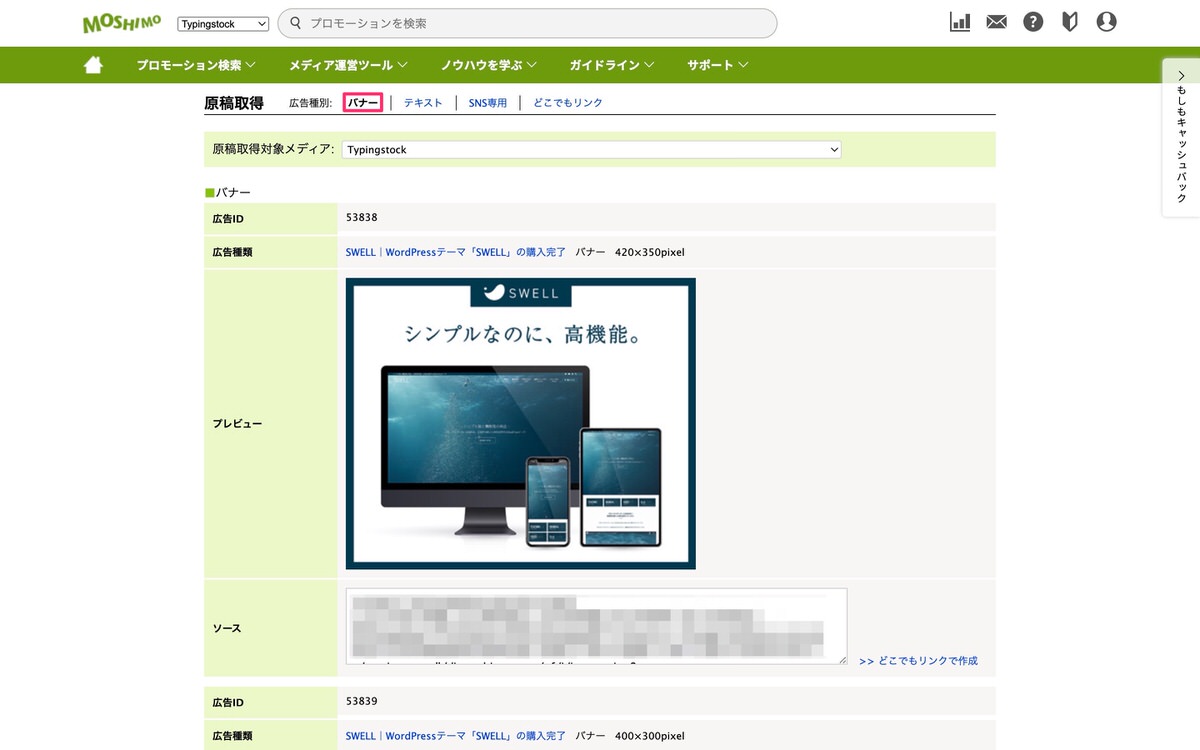
※ もしもアフィリエイトのSWELLを例に解説します。
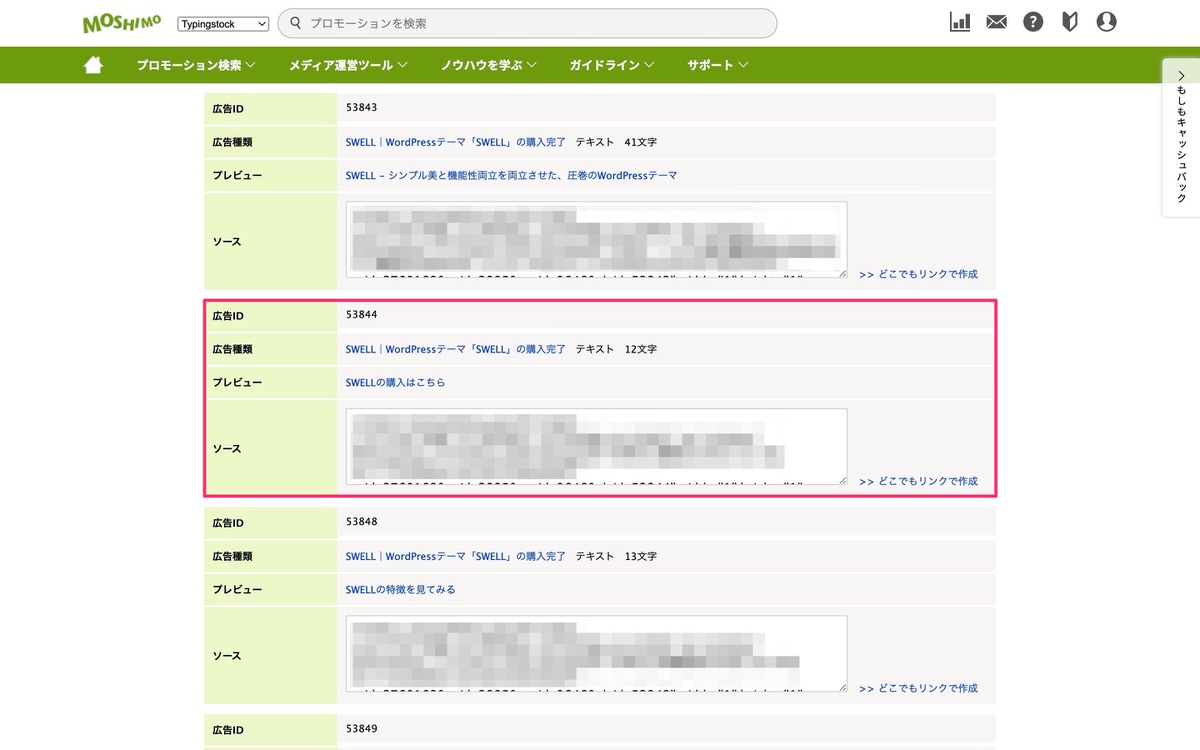
ボタンにアフィリエイトリンクを挿入
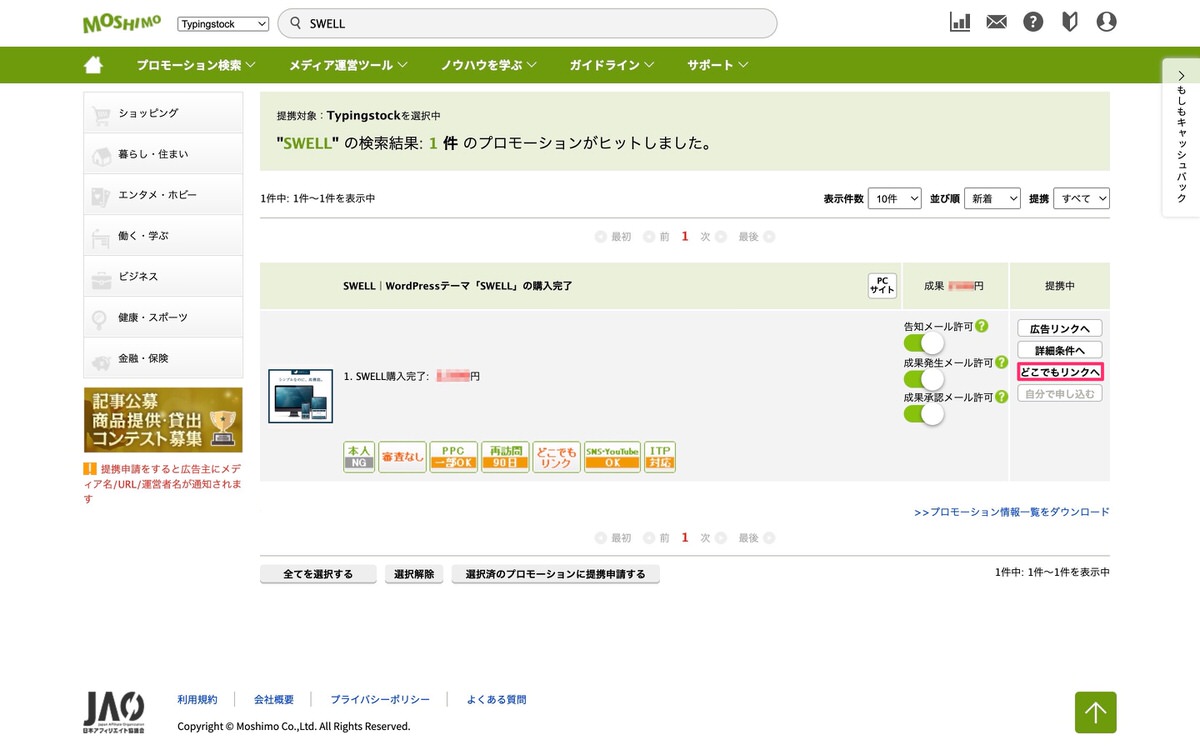
SWELLのアフィリエイトを検索後、「どこでもリンクへ」を選択します。
Screenshot
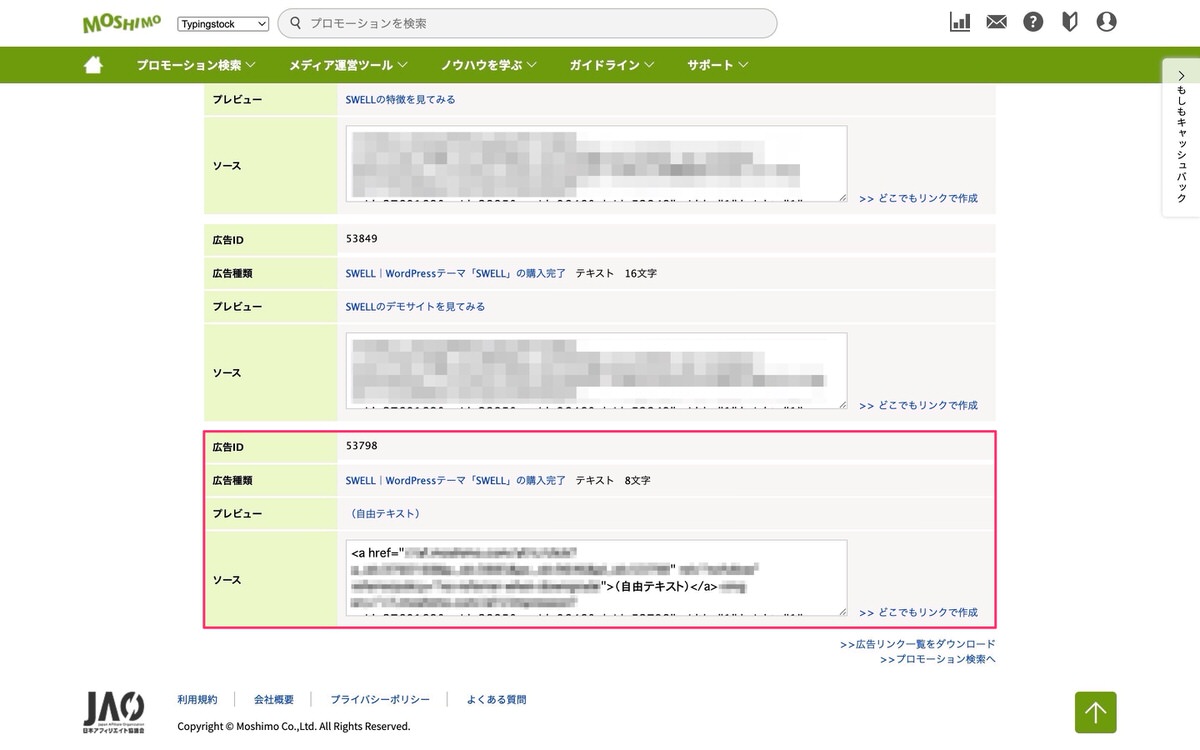
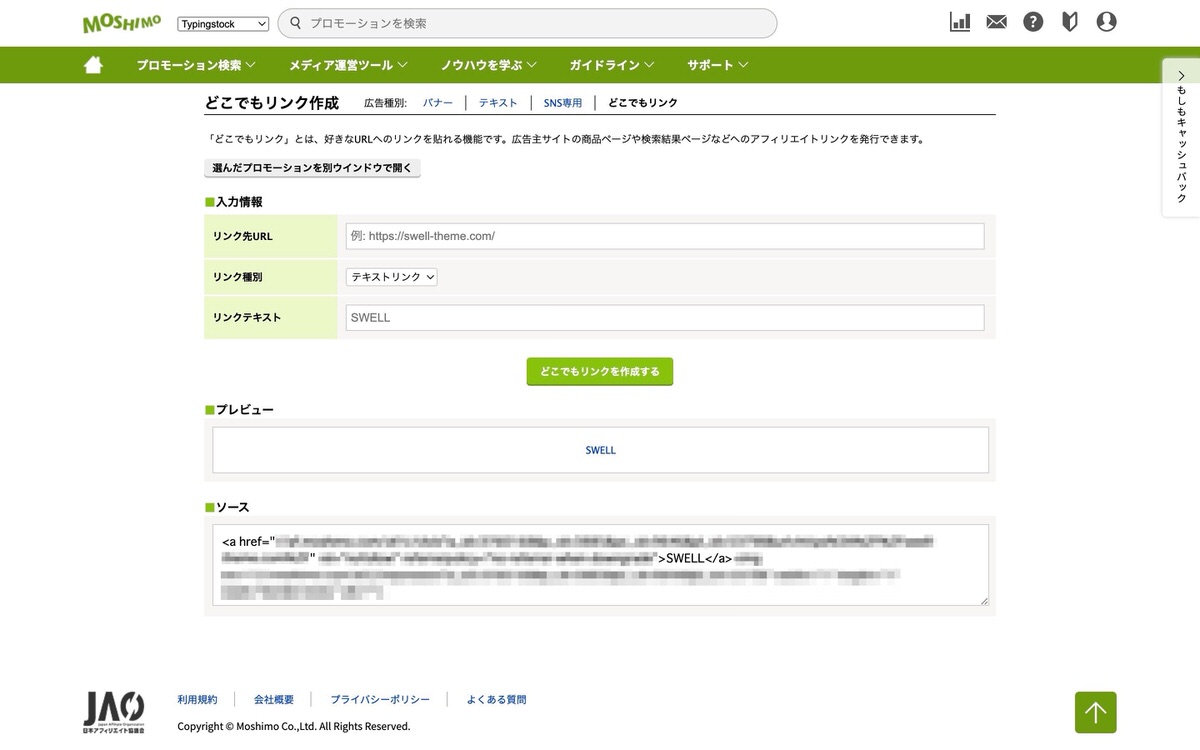
ソース内の以下をボタンリンク先にコピペすることで、ボタンにアフィリエイトリンクを挿入できます。
<a href=”この部分のURLをコピペ” rel=”nofollow”>SWELL</a>
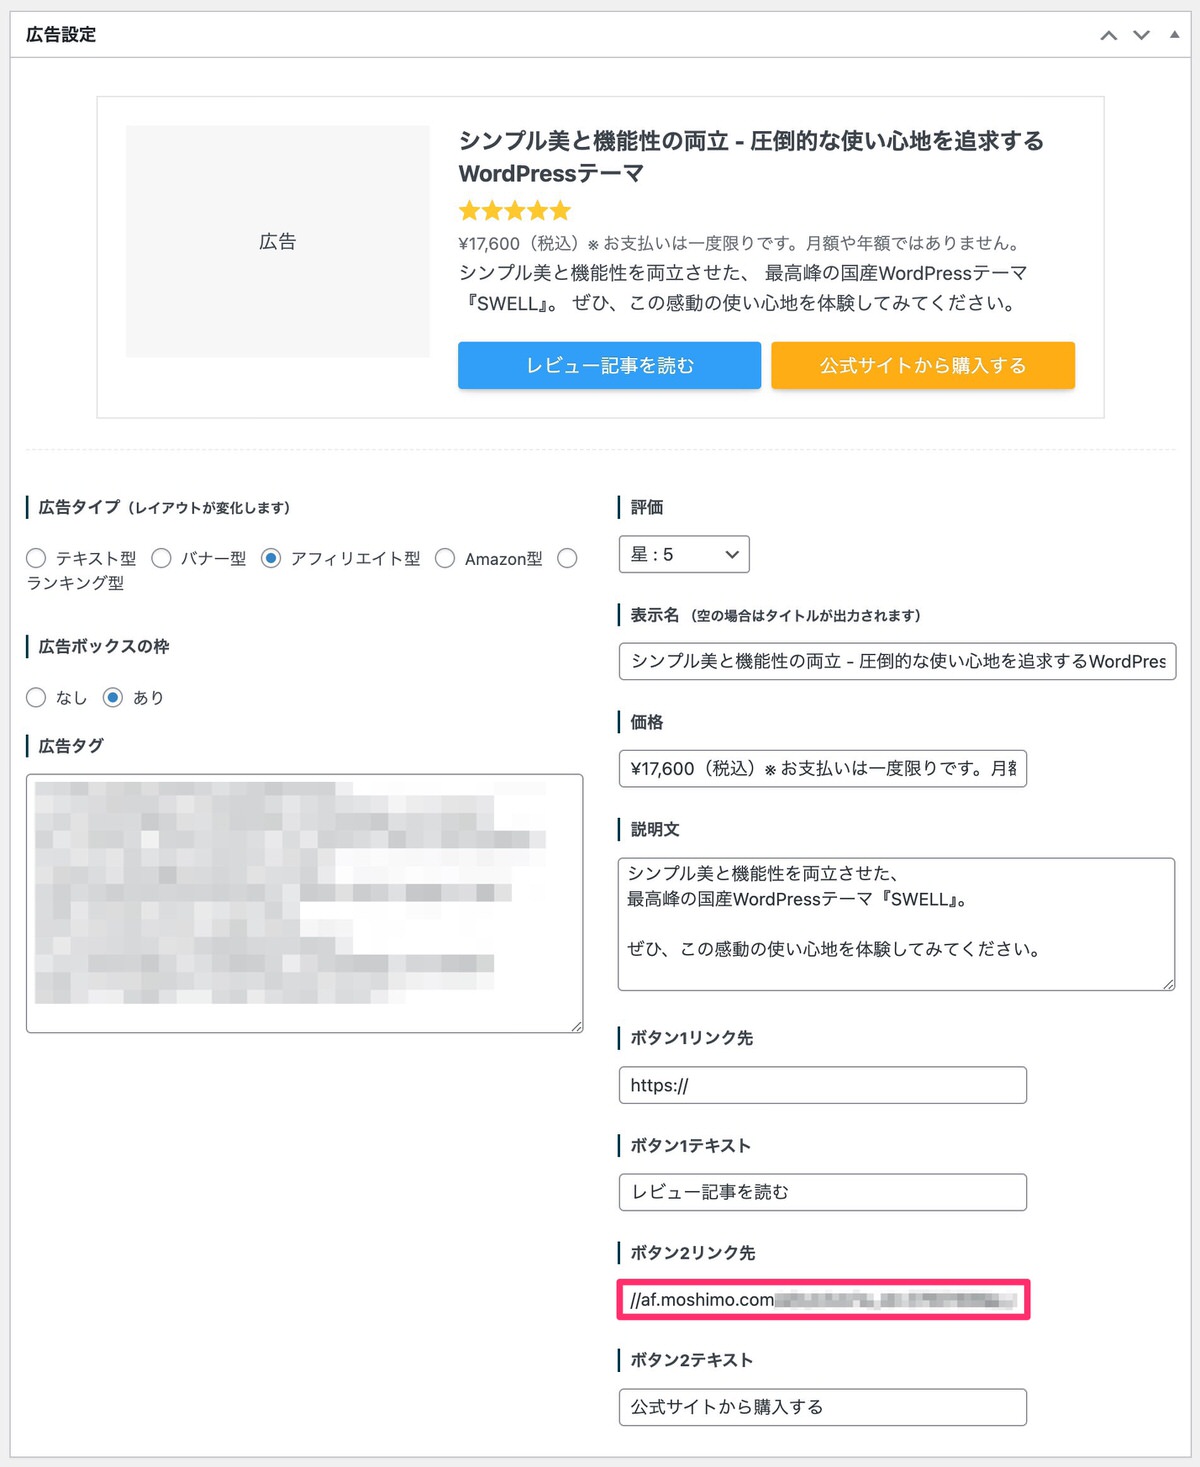
ボタンリンク先にURLをコピペしました。
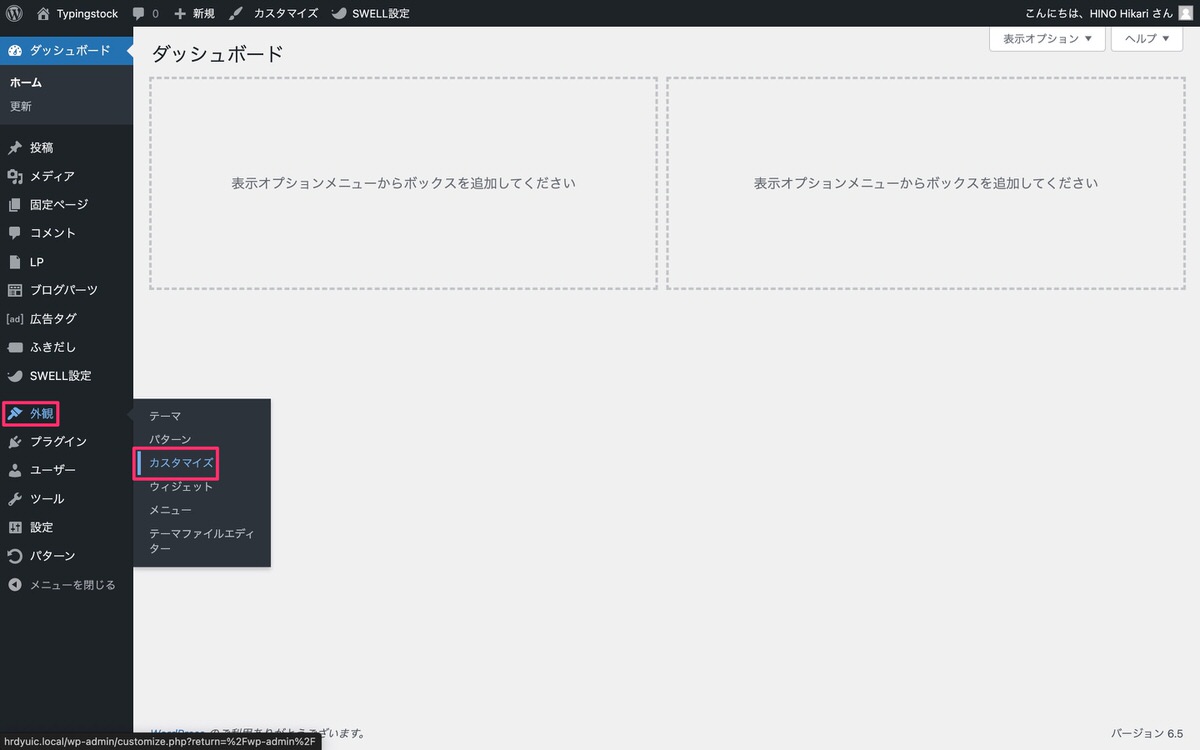
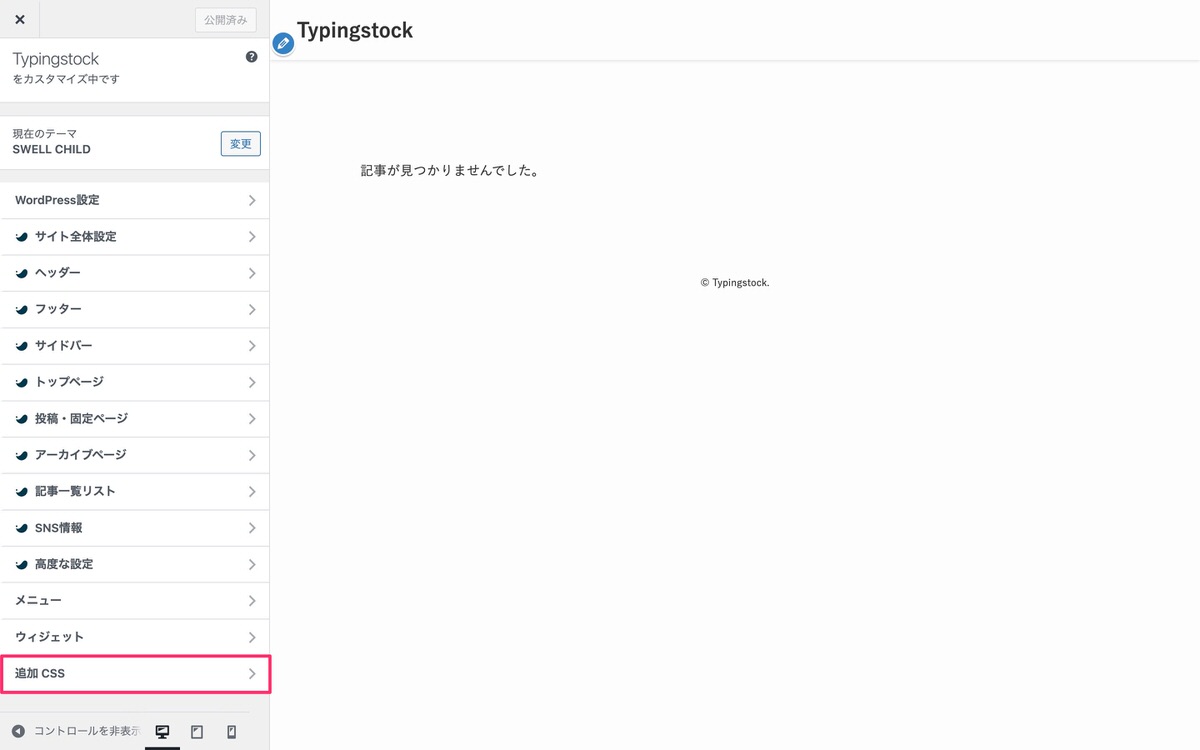
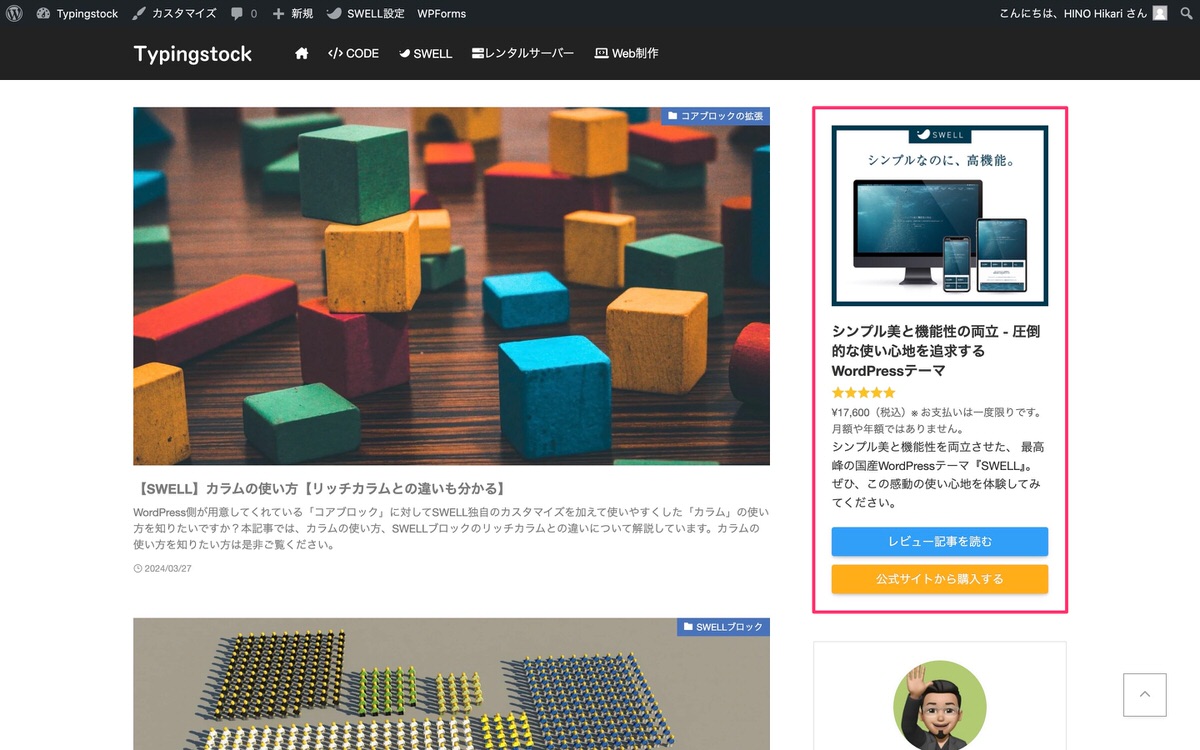
【SWELL】広告タグの使い方【ウィジェット設置時のレイアウトをカスタマイズ】
今回は以上です。